Limestone walls can look excellent for decades, but their open, chalky surface also makes them vulnerable to rain, garden moisture, airborne dirt and staining. The right limestone sealer for outdoor walls helps reduce absorption while preserving the natural character that makes limestone such a popular choice around Western Australian homes.
The key is not simply applying the first clear coating available. Limestone varies greatly in density, age, finish and condition. A sealer that is suitable for one wall may leave another looking patchy, overly dark or unnaturally glossy. Good results start with choosing the right type of sealer, preparing the surface properly and applying only as much product as the stone will accept.
What an Outdoor Limestone Sealer Does
Limestone is a porous natural material. Without protection, moisture and contaminants can move into the surface rather than sitting on top of it. This can contribute to uneven weathering, water marks, dirt build-up, mould or algae growth in damp shaded areas, and more difficult cleaning over time.
A quality masonry sealer is designed to penetrate or form a protective treatment on the limestone, depending on the product type. Its job is to reduce the rate at which water and grime enter the surface. It does not make limestone maintenance-free, and it should not be expected to hide existing stains, cracks or surface damage.
For most exterior limestone, the preferred outcome is a clean, natural-looking wall with improved resistance to weather and everyday staining. That usually means selecting a clear finish that does not create a heavy film or turn the surface into a shiny painted wall.
Choose the Finish Before Choosing the Product
The visual result matters as much as protection. Before purchasing a limestone sealer for outdoor walls, decide whether you want the stone to stay close to its current appearance or take on a darker, enriched look.
Natural-look penetrating sealers
A penetrating sealer is often the practical choice for exterior limestone where the aim is to retain a low-sheen, natural finish. It works into the pores of the stone rather than creating a noticeable layer across the face. This approach can be well suited to limestone blocks, retaining walls, boundary walls and feature walls where the texture of the material is part of the design.
Because limestone can absorb unevenly, always test a small, inconspicuous area first. The test patch will show whether the product changes the colour, highlights variations in the stone or leaves any sheen once dry.
Enhancing or wet-look finishes
Some sealers deepen the colour of limestone and can produce a richer, freshly wetted appearance. This can suit certain decorative applications, but it is a choice to make carefully. On pale limestone, the change can be more noticeable than expected, particularly where blocks have natural colour variation.
An enhancing finish may also make future spot treatment more difficult, as newly sealed areas can appear different from older sections. If a consistent natural finish is the priority, a non-enhancing sealer is generally the safer starting point.
Film-forming coatings
A surface coating that forms a visible film is not automatically the best answer for exterior limestone. While some coating systems have suitable uses on masonry, an overly thick film can alter the look and feel of porous stone. It may also be less forgiving if moisture is present within the wall or moves through it from behind.
For a wall with persistent dampness, rising moisture, failed previous coatings or salt-related issues, identify and address the cause before sealing. Applying a coating over an unresolved moisture problem can trap the issue rather than solve it.
Surface Preparation Determines the Result
A sealer can only perform as well as the surface allows. Applying it over dirt, algae, old residue or moisture may lock contaminants into the stone and reduce penetration. Preparation should be treated as part of the coating system, not an optional extra.
Start by checking whether the limestone is sound. Loose material, powdery faces, crumbling mortar, open cracks and water entry points need attention before sealing. A sealer is protective treatment, not a structural repair product.
Clean the wall using a method suited to the condition of the stone and the cleaning product instructions. Remove loose dirt, cobwebs, garden splash, grease marks and biological growth. Avoid aggressive cleaning methods that can damage soft limestone, expose aggregate or leave the surface rough and uneven.
If the wall has been cleaned with a chemical solution, make sure all residues are removed as directed and allow adequate drying time. The limestone needs to be dry before application unless the product documentation specifically states otherwise. A wall that looks dry on the face may still hold moisture after rain, washing or irrigation overspray.
Check for previous sealers
Older limestone walls may already have a clear coating, water repellent or patchy treatment in place. A new penetrating sealer may not absorb consistently if old residue is blocking the pores. Water beading in isolated areas can be a useful sign that some previous treatment remains.
Test a small area first. If the new product does not wet out or penetrate evenly, stop and assess compatibility rather than continuing across the whole wall. Removing a failed or unsuitable coating can require a different preparation process, and the relevant technical data sheet should guide the next step.
How to Apply Sealer Evenly
Exterior limestone sealing is usually straightforward, but it rewards a methodical approach. Choose a dry period with suitable temperature conditions stated in the product instructions. Do not apply when rain is expected before the sealer has had time to dry or cure as specified.
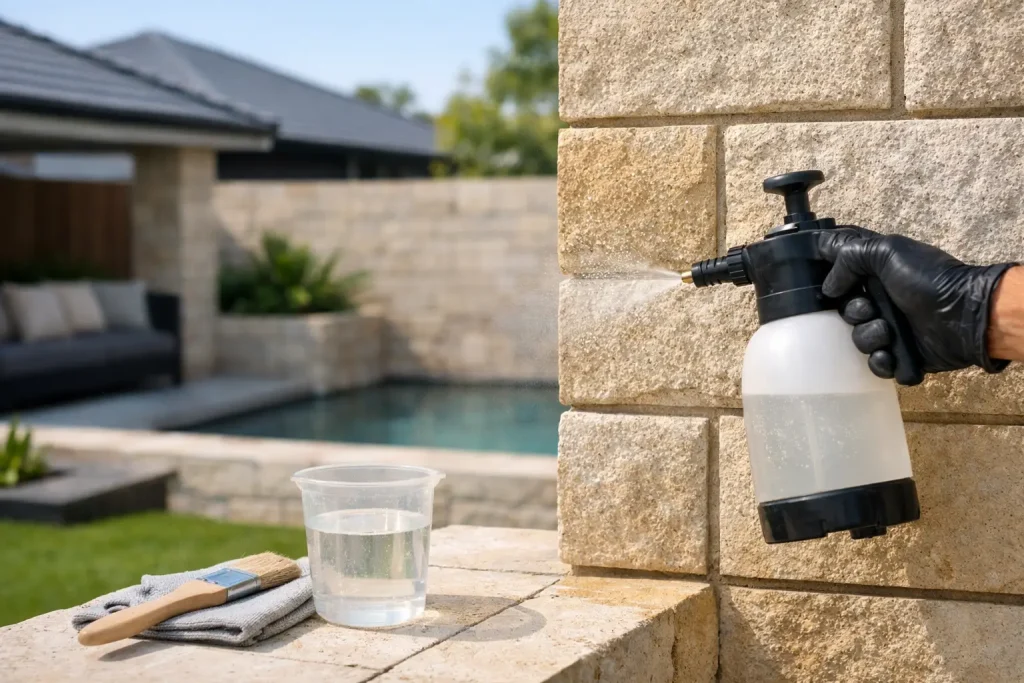
Use the application tool recommended for the product and wall profile. A brush may suit joints, edges and uneven blockwork, while a roller can help cover broader flat areas. Some sealers may also be suitable for controlled spray application, but overspray must be managed carefully around windows, paving, garden beds and adjacent finishes.
Work in manageable sections and keep a wet edge so lap marks are less likely. Apply the sealer evenly, paying attention to porous joints and cut edges, which can absorb more than the block faces. Do not assume that a heavier coat gives better protection. Excess material that cannot penetrate may dry as a visible residue, create gloss variation or leave a tacky surface.
The number of coats depends on the product, the porosity of the limestone and the result of the first coat. Follow the manufacturer’s recommended recoat timing and coverage guidance. Measure the wall areas before ordering so you can estimate quantities realistically, allowing for joints, textured faces and greater absorption on unsealed stone.
Common Mistakes to Avoid
The most common issue is sealing a wall before it is fully clean and dry. This can leave discolouration beneath the sealer and create inconsistent absorption. The second is choosing a finish based only on a photo or label rather than testing it on the actual limestone.
Another mistake is treating all limestone as identical. Smooth, machine-cut blocks often absorb differently from reconstituted limestone, rough quarry-cut material or older weathered walls. Sun-exposed elevations can also behave differently from shaded walls that stay damp longer.
Avoid applying sealer over active efflorescence, persistent moisture or unexplained staining without first finding the source. White salts, for example, may indicate moisture movement through the masonry. Sealing over the visible symptom without addressing drainage, irrigation or water entry can lead to recurring problems.
Finally, do not overlook adjacent materials. Mask glass, metalwork, painted surfaces and paving before starting. Clear sealers can still change the appearance of non-porous surfaces if they are allowed to dry there.
Maintaining Sealed Limestone Walls
Sealing makes routine care easier, but outdoor walls still need occasional attention. Brush away dust and cobwebs, keep sprinklers from repeatedly soaking the wall, and remove organic debris where moisture can collect. Shaded sections near gardens, taps or downpipes often need closer inspection than exposed sections.
Over time, observe whether water still beads or whether the limestone begins to absorb water quickly and darken unevenly. These are practical signs that it may be time to assess the existing treatment. Reapplication intervals vary with wall exposure, product type, surface preparation and local conditions, so rely on the product technical documentation rather than a fixed timetable.
For homeowners and trade customers, the most reliable path is to match the sealer to the stone, test it first and follow the preparation and application instructions closely. BG Coatings can provide practical product guidance and technical documentation to help you select a suitable system. A carefully chosen sealer will protect the wall without taking away the limestone finish you wanted in the first place.