A limestone boundary wall can look sound from the street while quietly taking in water through open pores, failed joints or an unsuitable old finish. The right masonry coatings can improve weather resistance, reduce staining and refresh the appearance of exterior surfaces, but only when the product matches the substrate and the preparation is done properly.
For homeowners, painters, builders and maintenance teams, the main decision is not simply which colour to use. It is whether the surface needs a penetrating sealer, a film-forming coating, a primer-led paint system, or attention to moisture and surface defects before any coating goes on.
What masonry coatings are designed to do
Masonry coatings are products formulated for mineral building surfaces such as brick, concrete, cement render, limestone, sandstone and blockwork. Depending on the system, they may seal porous material, provide a coloured protective finish, improve cleanability or help limit the effect of weather exposure.
Masonry is not one uniform material. A dense concrete wall behaves differently from soft limestone, while a rendered wall may have a sound painted surface in one area and a chalky, weathered finish in another. That is why a coating that performs well on render is not automatically the right choice for natural stone.
The coating also needs to suit the environment. Exterior walls in Western Australia can face strong sun, wind-driven rain, airborne salt in coastal areas, dust and repeated temperature changes. Internal masonry may instead need a finish that is easy to clean and compatible with the existing paint system. The condition of the wall matters as much as its location.
Sealer or coating: choosing the right approach
A clear penetrating sealer and an opaque masonry coating do different jobs. A penetrating sealer is generally selected when the aim is to retain the natural look of limestone or sandstone while reducing liquid uptake and staining. It works into the pore structure rather than creating a visible coloured layer over the face of the stone.
A masonry paint or coating creates a finish on the surface. It is usually the better route where a uniform colour is wanted, where old paint needs to be refreshed, or where a rendered, brick or concrete wall needs a protective decorative layer. The trade-off is that a film-forming coating changes the surface appearance and must be compatible with the existing finish.
For natural limestone and sandstone, avoid treating all sealers as interchangeable. Stone can vary widely in porosity, texture and prior treatment. A sealer that changes the appearance more than expected, or a coating that restricts the way moisture moves through the wall, can create an unsatisfactory result. Always check the relevant technical data sheet and test a discreet area where practical.
Start with the surface, not the colour chart
Preparation is the part of a masonry coating project that most affects adhesion and finish. New paint cannot correct loose render, persistent dampness, failing joints or a powdery surface. If those issues are coated over, the new system may fail with them.
Begin by identifying the substrate and checking whether it is bare, previously painted, sealed or contaminated. Look for flaking paint, efflorescence, mould, dirt build-up, grease, hairline cracking, exposed repairs and soft or friable areas. Efflorescence is the white, powdery salt deposit sometimes seen on masonry. It is a sign that moisture and salts are moving through the material, so it should not be ignored or simply painted over.
Remove loose and peeling material, then clean the surface using a method appropriate to the wall and the product system. Masonry must be allowed to dry properly before coating. Pressure cleaning can be useful in suitable situations, but it can also force water into porous surfaces or damage softer stone if used incorrectly. For delicate limestone and sandstone, a gentler cleaning method may be more appropriate.
If old paint is sound, it still needs assessment. Check adhesion in several areas, not only the most sheltered section. A previously painted wall may require cleaning, sanding or a suitable primer to provide a reliable base for the next coat. Where the history of the existing coating is unknown, technical advice is worthwhile before committing to a full project.
Do not coat active moisture problems
Peeling paint, bubbling, recurring salt deposits and damp patches can point to a moisture source behind or within the masonry. It may come from failed drainage, leaking plumbing, ground moisture, cracked capping or another building issue. A coating can protect a prepared surface, but it is not a substitute for correcting active water entry.
This is particularly relevant for retaining walls, low-level masonry and walls adjoining garden beds. Applying a decorative finish without addressing water pressure or drainage can lead to early failure. Resolve the moisture cause first, allow the wall to dry, then select a system suited to the condition of the substrate.
Primer compatibility matters
Primers are not an optional extra added by default. They are part of a coating system when the surface condition calls for them. On bare porous masonry, an appropriate primer can help bind the surface and create a more even base for the topcoat. On repaired render or patched areas, it can reduce the risk of uneven absorption affecting the final appearance.
The right primer depends on the surface and the topcoat. Using a product because it is available, rather than because it is specified for that substrate, can compromise the result. Follow the manufacturer’s preparation and recoating guidance, including any requirements around surface dryness, mixing and application conditions.
For trade work, document the substrate condition and product system before starting. This helps maintain consistency across larger sites and provides a clear reference if different wall sections need different preparation. For DIY work, the same principle applies on a smaller scale: establish the system before opening the first tin.
Applying masonry coatings for an even finish
Once the surface is clean, dry, stable and properly primed where required, application becomes more straightforward. Stir products thoroughly and apply at the recommended spreading rate. Trying to stretch a coating beyond its specified coverage may leave insufficient film build and an uneven appearance, especially over rough render or porous blockwork.
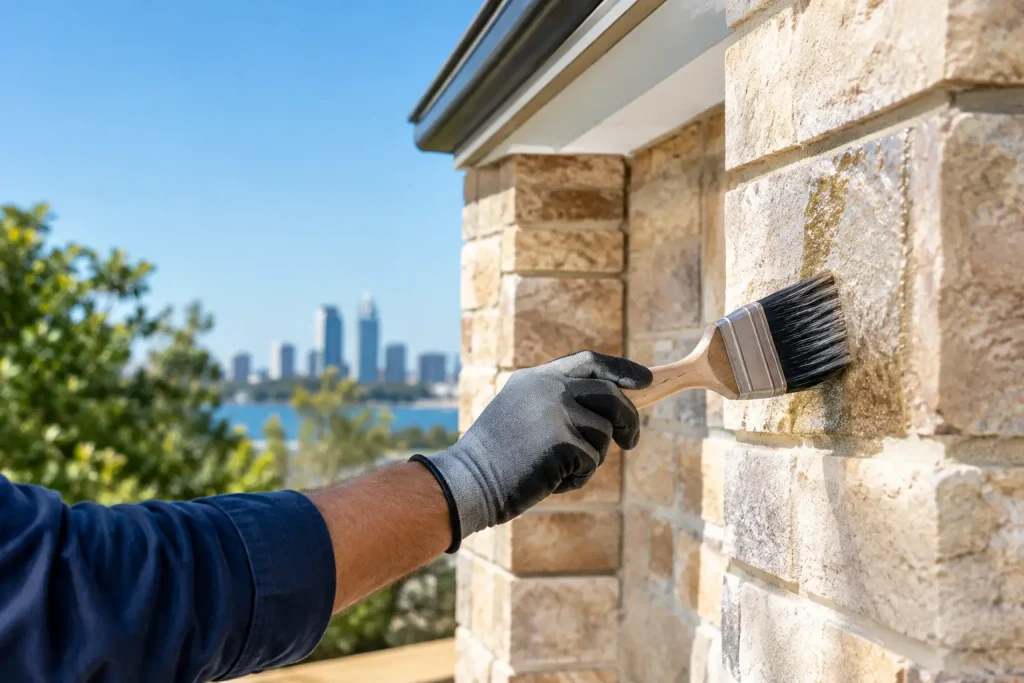
Brushes are useful for cutting in, joints and textured areas. Rollers can provide efficient coverage on broad walls, provided the roller nap suits the surface profile. On heavily textured masonry, work the coating into recesses rather than just skimming the high points. Application method can affect both appearance and material use, so allow for more product on rough or highly porous walls than on smooth, sealed surfaces.
Maintain a wet edge where possible and complete natural wall sections without long breaks. This reduces visible lap marks, particularly with darker colours or in strong sunlight. Avoid applying coatings in conditions outside the product recommendations. Very hot surfaces, rain, high moisture or unsuitable temperatures can affect application and drying.
Colour should also be considered in context. A small sample can look quite different across a large west-facing wall or beside existing roof, paving and fencing colours. Where colour matching is needed, provide a suitable sample and discuss the intended surface and finish. Variations in texture, porosity and existing coatings can influence the final appearance even when the colour is correctly matched.
Plan quantities before you buy
Measuring the wall area is a useful starting point, but it is not the whole calculation. Deduct large windows and doors where appropriate, then consider the number of coats, surface texture, porosity, repairs and waste allowance. Rough limestone, split-face blockwork and coarse render commonly use more coating than smooth painted render.
Check the product’s stated coverage information and calculate for the complete system, including primer where required. Buying enough material from the same batch for a continuous area can help maintain consistency. Keep a small amount aside for future touch-ups, stored according to the product directions.
BG Coatings can assist customers with practical product selection, colour matching and technical documentation for suitable masonry coating and sealer systems. For local Perth projects, collection from Malaga may be convenient; delivery availability for other coating ranges should be confirmed for the product and destination.
When to ask for technical advice
Some masonry projects are straightforward, such as repainting a sound, previously coated rendered wall with a compatible system. Others need closer assessment. Seek product guidance when you are coating natural limestone or sandstone for the first time, dealing with unknown old finishes, seeing persistent efflorescence, coating high-exposure walls, or working on commercial and industrial sites with specific maintenance requirements.
Have clear information ready: the substrate type, whether it is bare or painted, photos of problem areas, the desired finish, approximate area and any known moisture history. This makes it easier to select the correct system and estimate quantities without guesswork.
A good masonry finish starts well before application day. Take the time to identify the surface, correct moisture issues and follow the coating system directions. The result is a better-looking wall and a far more dependable use of your time and materials.