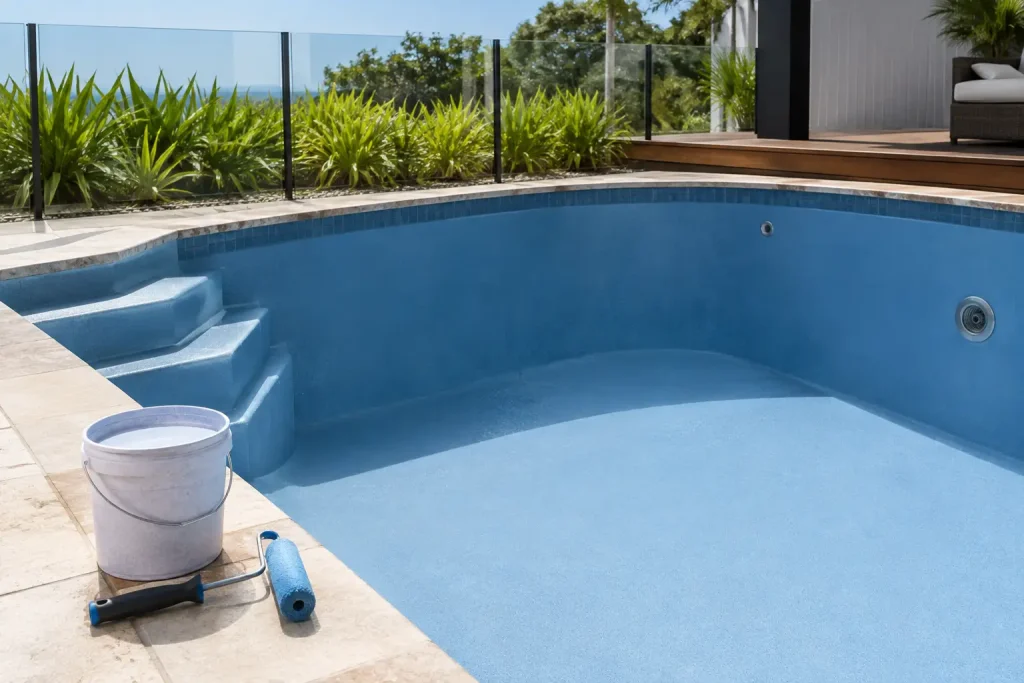
A pool paint job can look straightforward once the surface is empty and clean. In practice, the decision about pool primers often determines whether the new coating bonds properly or becomes an expensive redo. Primer is not an automatic extra coat for every pool. It is part of a compatible coating system, selected for the pool surface, its condition and the paint being applied over it.
For homeowners planning a DIY repaint and contractors preparing a client project, the starting point is the same: identify what is already on the pool, or what the pool shell is made from. Then check the preparation and primer requirements for the selected pool paint system before ordering materials.
What pool primers actually do
A pool primer is a preparatory coating applied between the prepared pool surface and the finish coats of pool paint. Its role is to create a sound base for the coating system where one is required. On suitable surfaces, it can help promote adhesion, reduce uneven absorption and support a more consistent finish.
That does not mean primer can compensate for poor preparation. It cannot bind down flaking paint, make a damp surface suitable for coating or overcome contamination from oils, sunscreen residue, algae treatment, salts or cleaning products. Any weak material must be removed, and the surface must be cleaned and prepared in accordance with the relevant product instructions.
Think of primer as one step in a system, not a shortcut around the hard work. The system includes surface assessment, cleaning, preparation, primer where specified, compatible pool paint, correct application conditions and adequate drying or curing before the pool is returned to service.
When does a pool need primer?
Whether a pool needs a primer depends on the substrate and the coating history. This is why two pools that look similar from the outside can require quite different preparation.
Bare or newly prepared concrete
Bare concrete and cement-based pool surfaces commonly need particular attention. Concrete is porous, and its condition can vary across the pool shell. Areas with different absorption rates may affect how the coating applies and looks.
A specified primer can help prepare a sound, clean concrete surface for the selected pool paint. However, the concrete must be fully suitable for coating first. New concrete, repairs, moisture, surface laitance and previous sealers all need to be considered. Follow the pool paint technical data sheet rather than assuming every concrete surface is ready after a quick wash.
If the pool has been stripped back, assess the whole shell, not only the visibly damaged areas. Patch repairs, steps, waterline bands and older sections of concrete can behave differently under a coating system.
Fibreglass pools
Fibreglass is not porous in the same way as concrete, and its surface preparation requirements are different. Existing gelcoat condition, chalking, gloss, contamination and previous coatings all matter. A primer may be required as part of a specified system, but applying a generic primer without checking compatibility can create problems rather than solve them.
Preparation usually focuses on achieving a clean, sound, suitably keyed surface while avoiding damage to the substrate. If the pool has a previously painted finish, the existing paint type is just as important as the fibreglass underneath it.
Previously painted pools
Previously painted pools require the most careful assessment. Before choosing primer or paint, establish whether the existing coating is chlorinated rubber, epoxy, acrylic or another product. The next coating must be compatible with the sound existing finish, or the old coating may need more extensive removal.
If the existing paint is peeling, blistering, soft, powdery or poorly bonded, primer will not make it stable. Remove failed material and investigate the cause before recoating. Applying a fresh system over an unsound coating may only hide the issue temporarily.
Where the existing coating is sound, preparation may involve cleaning and abrading to create an appropriate surface profile, followed by the primer only if the selected system specifies it. When the paint history is uncertain, do not guess. Seek product guidance and, where appropriate, carry out a small compatibility test in an inconspicuous area before committing to the full pool.
Pool primer and pool paint must work together
A pool coating system is only as reliable as its compatibility. Chlorinated rubber pool paint and two-pack epoxy pool paint have different properties, preparation needs and application requirements. A primer that suits one system is not automatically appropriate for another.
This is especially relevant when changing coating types. For example, a pool previously coated in a different paint chemistry may need a specific preparation method, a compatible tie coat or complete removal of the old finish. The correct path depends on the existing coating, the substrate and the manufacturer’s instructions for the new product.
Avoid mixing products simply because they are described as suitable for pools. Check that the primer, finish coat and any cleaners or preparation products are intended to work together. Read the technical data sheet and safety data sheet before starting. Trade painters should also confirm required coverage rates, mixing requirements and recoat windows before scheduling the work.
Preparation comes before primer
Good preparation is the practical work behind a lasting pool paint system. Begin with a close inspection in dry conditions and look for cracks, loose coating, chalking, staining, rust marks around fittings, biological growth and areas where water may have sat behind the finish.
The pool should be fully emptied and dry before coating work begins. Clean the surface thoroughly to remove contaminants, then remove loose or failed paint. The chosen paint system may require mechanical abrasion, a specified cleaning process or another preparation method to create the correct surface condition. Do not use an unapproved cleaner or rely on household products that can leave residues.
Pay attention to detail around skimmer boxes, returns, lights, steps, drains and the waterline. These are common areas for contamination, coating breakdown and missed preparation. Mask or protect fittings as required, and make sure any repair materials are fully suitable for the coating system.
Only apply primer once the surface is sound, clean, dry and prepared as specified. Weather and substrate temperature also matter. Applying coatings outside the conditions listed in the product documentation can affect application and film formation, even when the surface looks ready.
How much primer will you need?
Primer quantity depends on the pool’s internal surface area, the surface profile, the specified coverage rate and whether the system requires one or more coats. A rough estimate based only on pool water volume can be misleading, particularly for deep ends, steps, ledges and irregular shapes.
Before buying, use the BG Pool Paint Calculator to estimate the likely quantity of pool paint and primer for your pool dimensions or water volume. It is a practical planning tool that helps reduce uncertainty and supports selection of the appropriate coating system. Allow for the actual condition of the surface, especially where bare or porous areas may absorb more material than a sound previously painted finish.
For larger pools or complex commercial-style shapes, measure carefully. Include walls, floor, steps, benches and other coated internal areas. If you are unsure which surface or coating type applies to your pool, confirm that first rather than ordering on quantity alone.
Common primer mistakes to avoid
The most common mistake is treating primer as universal. Pool primers are system-specific products, so the correct choice begins with identifying the substrate and the finish coat.
Other avoidable errors include applying over loose paint, underestimating cleaning work, coating a surface that has not dried adequately, missing the recoat window and using a finish paint over an incompatible old coating. Each can affect adhesion and the appearance of the completed coating.
It is also worth avoiding the temptation to apply heavier coats to make up for a poor surface. Excessive film build can create its own application issues. Apply each product at the recommended rate and use the application method stated in the product documentation.
Choose the system before you start
The right pool primer is the one specified for your pool surface and selected paint system, not simply the one labelled as a primer. Start by identifying the substrate, assessing the old coating and confirming whether the surface is sound enough to recoat. Then use the BG Pool Paint Calculator to plan quantities and check the relevant technical information before placing your order.
A few minutes spent confirming compatibility can save days of preparation and help you approach the job with a clear, practical coating plan.