Peeling paint is rarely just a cosmetic issue. Whether it is lifting from an exterior wall, a metal roof, masonry, timber trim or a previously painted pool, the failed coating needs to be removed properly before new paint goes on. If you only paint over loose edges, the fresh coat is likely to fail with the old one.
To remove peeling paint effectively, first identify why it has lost adhesion. Moisture, poor surface preparation, incompatible coatings, chalking, rust and painting outside suitable conditions can all cause a coating to lift. The right fix depends on the surface and the existing paint system.
Find the cause before you start scraping
Paint can peel because water is getting behind it, but that is not the only explanation. Exterior walls may have gaps around flashings, joints or penetrations. Masonry can hold moisture or have salts moving through it. Metal surfaces can corrode beneath a coating, while timber may swell and shrink as it gets wet and dries out.
On roofs, peeling often points to inadequate cleaning, remaining chalky paint, corrosion, or a coating system that was not suitable for the substrate. For interior walls, look for plumbing leaks, condensation, poor ventilation or damage around wet areas before repainting.
Compatibility matters as well. A new coating may not bond to a glossy, contaminated or unsuitable old finish. Some specialist surfaces, including swimming pools, need a coating system chosen around the existing paint type and the substrate below. Guessing can create a larger preparation job later.
Before proceeding, check whether the building may contain old lead-based paint. Older Australian properties can require additional care. Do not dry sand, grind or create dust from suspect paint without appropriate assessment and controls. Seek qualified advice where lead paint may be present.
How to remove peeling paint without damaging the surface
The aim is not always to strip every trace of old paint. The aim is to remove all loose, flaking and poorly bonded material, then create a clean, sound surface that the new coating can grip. Sound, well-adhered paint can often remain if it is cleaned, dulled where required and compatible with the planned coating system.
Start with a bond check
Run a scraper across the affected area and press masking tape firmly over nearby painted sections. Pull it away sharply. If paint comes off with the tape, adhesion is poor beyond the visible peeling section and more removal may be needed.
Look closely at the edge of each failed patch. If the paint lifts easily under a scraper, continue back until you reach a firmly bonded edge. Do not stop at the first obvious blister or flake. Loose paint usually extends farther than it first appears.
Scrape and feather the edges
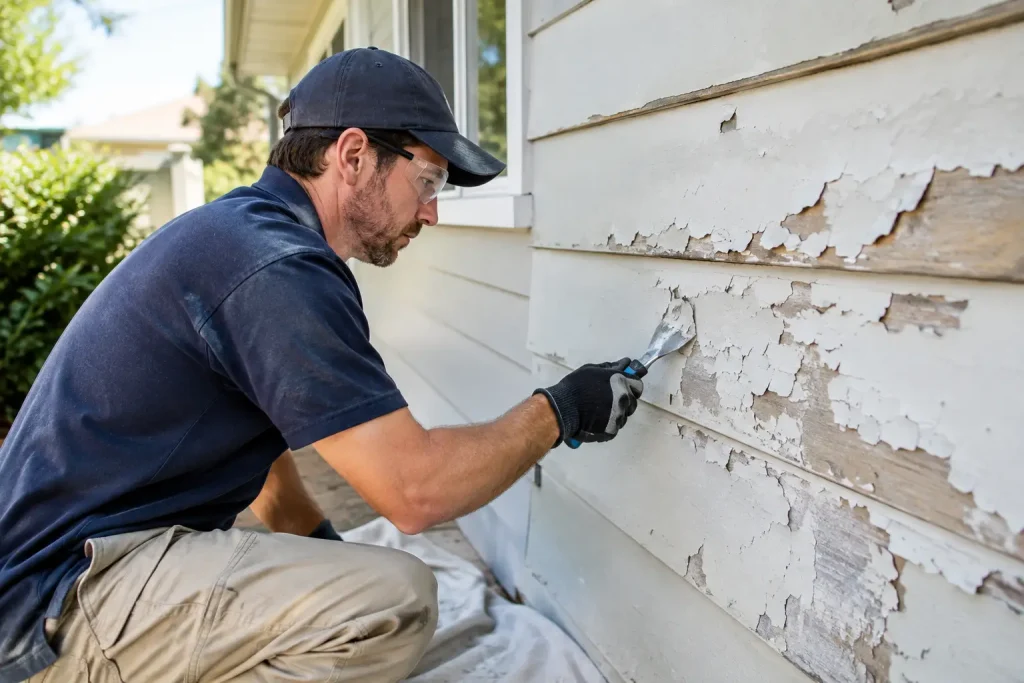
Use a suitable paint scraper, taking care not to gouge timber, render or soft masonry. On metal, remove loose coating and surface corrosion without thinning or damaging the substrate. A wire brush can help on small metal areas, provided the surface is cleaned thoroughly afterwards.
Once the loose coating is removed, feather the edge between bare areas and sound paint with sandpaper or an appropriate sanding method. This softens the ridge left by old paint so it does not show through the final finish. It also helps the next coat transition more evenly.
Collect paint debris as you work and dispose of it responsibly. Wear suitable gloves, eye protection and a properly fitted dust mask for the task. Follow the safety directions for all cleaners, solvents, primers and coatings.
Wash away the contamination that scraping leaves behind
Scraping alone does not remove chalk, dirt, grease, mould, salt or airborne pollutants. These contaminants can interfere with adhesion even where the old paint looks sound.
Wash exterior walls, roofs and other exposed surfaces with an appropriate cleaner and rinse as required by the product directions. Treat mould or biological growth before painting, rather than coating over it. On masonry, allow the surface to dry fully after washing. A wall that still feels damp, or continues to show moisture staining, needs further investigation before it is recoated.
For metal, remove rust, dust and residue thoroughly. Any remaining corrosion can continue beneath the new coating. On timber, clean away sanding dust and check for decayed or damaged sections before painting.
Match preparation to the surface
A sound coating system starts with the substrate, not the colour card. Different surfaces need different preparation and primer choices.
Render, brick and masonry
Masonry can be porous, dusty or affected by efflorescence, which appears as white crystalline deposits. Brush off loose deposits and find the source of continuing moisture where possible. Do not paint over actively damp masonry or assume a thick topcoat will solve water entry.
Bare or repaired masonry may need a suitable primer or sealer before topcoating. The correct choice depends on the surface condition and the coating being applied. Check the relevant technical data sheet for preparation requirements, coverage and recoat information.
Timber and previously painted walls
On timber, remove failed paint, sand edges smooth and make sure the surface is clean and dry. Bare timber and exposed end grain may need a suitable primer before painting. If movement, splitting or moisture has caused the failure, address that first.
For walls with isolated peeling, scrape back to sound paint, feather the edges and spot-prime exposed areas where the specified coating system calls for it. If failure is widespread, a full clean, sand and primer coat may be more reliable than repeated patch repairs.
Metal and roofs
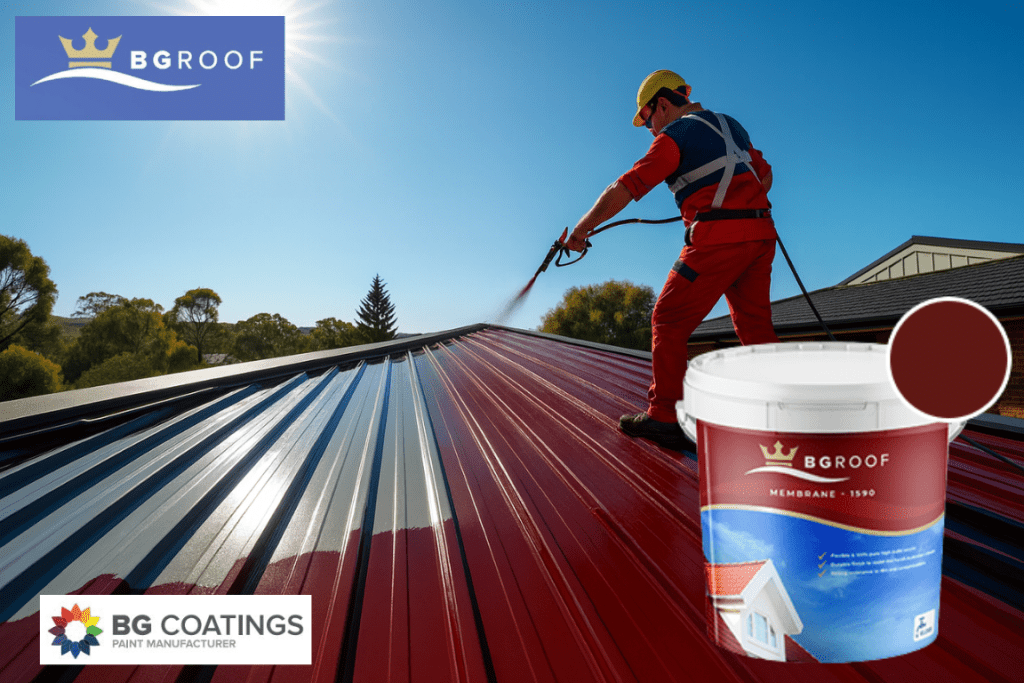
Metal needs particular attention because corrosion can undermine the coating from below. Remove loose paint and rust, clean the surface and use a primer designed for the metal and exposure conditions. Roof coating work also involves height risks. If safe access, fall protection or surface condition is uncertain, do not treat it as a simple DIY job.
A roof may contain a mix of bare metal, aged coating and rusted areas. Each needs correct preparation so the coating system performs consistently. Painting over chalking, loose coating or corrosion is a short-term cover-up rather than proper preparation.
Pools and specialist coated surfaces
A painted swimming pool should be assessed carefully before any coating is removed or selected. The pool must be empty and suitable for inspection, and the existing coating type needs to be identified where possible. Chlorinated rubber, epoxy and other systems are not automatically interchangeable.
Remove all loose or unsound paint, clean the surface thoroughly and follow the specified preparation and primer requirements for the chosen system. Before purchasing pool paint, use the BG Pool Paint Calculator to estimate paint and primer quantities from pool dimensions, water volume and the existing surface. It is a practical way to plan the system rather than ordering on guesswork.
Do not rush the drying and priming stages
A surface can look dry while moisture remains below the surface or in gaps, joints and porous materials. Give washed surfaces adequate drying time and only coat within the product’s stated temperature, weather and humidity conditions. Applying paint too soon can trap moisture and lead to blistering or peeling later.
Primer is not an optional extra where bare substrate, corrosion treatment, porous masonry or a change in coating system requires it. It provides a prepared foundation for the topcoat and can improve uniformity across repairs. However, primer must suit both the substrate and the topcoat. Using a good product from the wrong coating system can still create adhesion problems.
For larger jobs, test the complete preparation and coating system on a small area first. This is especially worthwhile where the old coating is unknown, the surface is heavily weathered or several repairs have been made over time.
Choose the new coating system carefully
The replacement paint needs to suit the location, surface and service conditions. Exterior walls need coatings designed for weather exposure. Roofs need roof-specific products. Pool surfaces need a compatible pool coating system. Limestone and sandstone often require an appropriate sealer rather than ordinary wall paint.
Read the technical data sheet before starting, not after the first coat is applied. It will set out the preparation standard, recommended primer, mixing or thinning instructions where relevant, application method, coverage guidance, recoat times and safety information. Professional painters and maintenance teams can use these details to plan materials and sequencing, while DIY customers gain a clearer picture of what the job requires.
BG Coatings can help customers select a suitable coating system and provide product documentation for the surface at hand. Taking a few photos of the peeling area, noting the substrate and recording any known previous coating can make that conversation more useful.
The best time to solve peeling paint is before the first new coat goes on. Prepare back to a stable surface, address the reason for failure and use a compatible primer and topcoat system. That extra care is what gives the finished coating a fair chance to stay put.