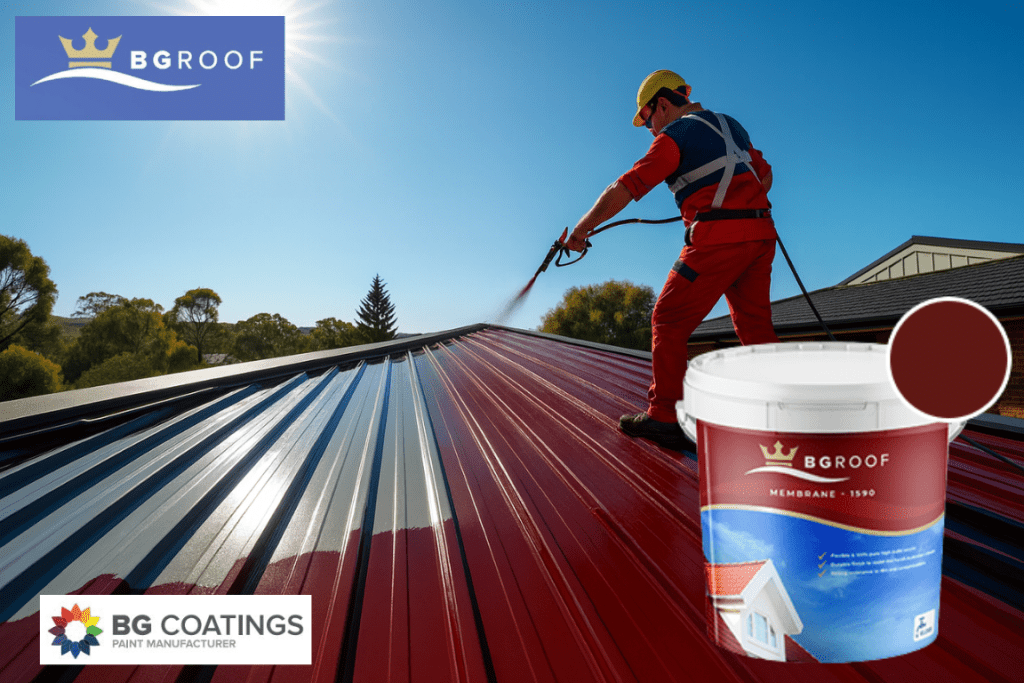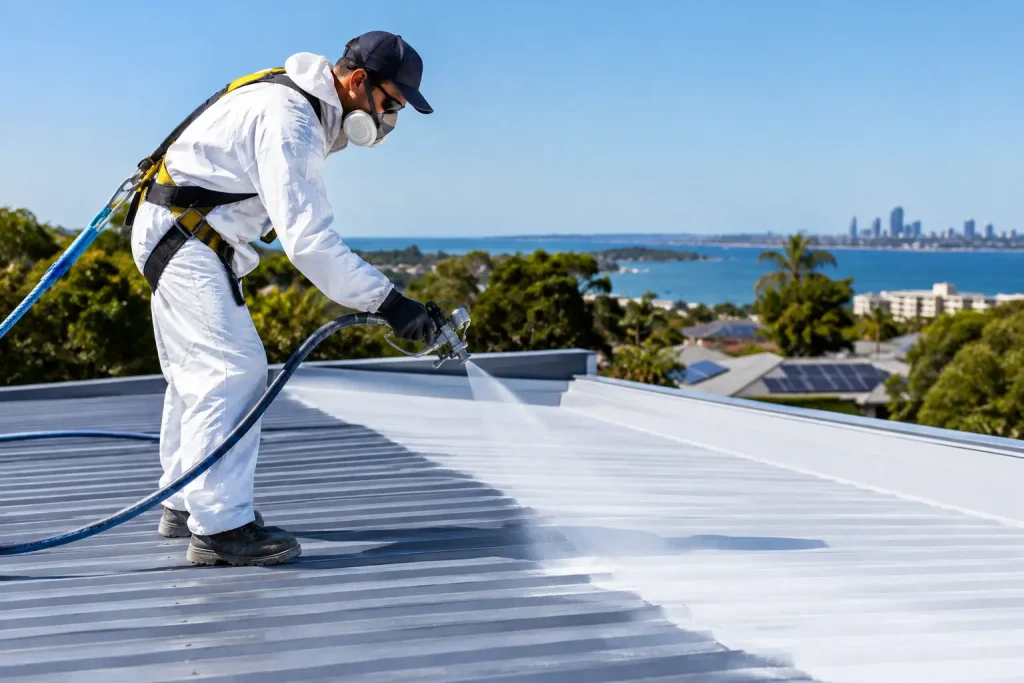
A roof can look ready for paint long before it is ready for coating. Chalky colour, surface dust, loose old paint, moss and small areas of corrosion can all interfere with adhesion. This roof coating application guide sets out the practical sequence that helps homeowners, painters and maintenance teams achieve an even, dependable finish on suitable metal and tiled roofs.
The coating is the visible part of the job, but preparation and product compatibility do most of the long-term work. Before ordering materials, identify the roof substrate, assess the existing coating and read the relevant technical data sheet for the chosen system. A roof coating should be selected as part of a system, not simply by colour.
Start the roof coating application guide with an inspection
Inspect the roof from a safe position before cleaning or coating. Look for peeling paint, powdery residue, exposed metal, rust, cracked tiles, failed pointing, loose fasteners and areas where water may be sitting. Coating over an unresolved substrate issue can hide it temporarily, but it will not correct the cause.
For metal roofs, establish whether the surface is bare, previously painted or weathered. Bare or exposed metal may need a suitable primer, particularly where corrosion is present. Previously coated roofs need a sound, well-adhered surface. If the existing film is lifting or softening, it must be removed or properly treated before recoating.
On tiled roofs, check that tiles are stable and that the roof is clean and dry. Porous tiles can absorb moisture and coating differently from dense, previously painted tiles. This is one reason coverage rates are estimates rather than a fixed rule. Surface profile, porosity and wastage around ridges, valleys and penetrations all affect product quantity.
If you are uncertain about the existing coating or the suitability of a primer, seek manufacturer guidance before starting. A small test area can also help confirm adhesion and appearance, provided it is assessed in line with the coating system’s directions.
Cleaning is preparation, not an optional extra
A coating can only bond to what remains on the roof. If that surface is dirt, salt, chalk or biological growth, the result is unlikely to be satisfactory. Thorough cleaning removes contaminants and reveals the actual condition of the roof.
Wash the roof using an appropriate method for the substrate and condition. Remove loose material, dirt, moss, lichen and chalky residue. Take care around flashings, gutters, solar equipment and fragile tiles. High-pressure cleaning may be appropriate for some roof surfaces, but pressure, nozzle distance and technique need to suit the substrate. Excessive pressure can damage tiles, force water into roof spaces or disturb weak coatings.
After washing, allow the roof to dry fully. This is especially important for porous tiles and areas around laps, fasteners, ridges and roof penetrations. Do not assume a roof is dry simply because the top surface feels dry in the sun. Moisture held in the substrate or trapped beneath loose coating can affect adhesion and film formation.
Remove failed coating and treat local defects
Scrape, sand or otherwise remove loose and flaking paint until you reach a firm edge. Feathering those edges helps reduce visible steps in the final finish. Dust created by sanding must be removed before priming or coating.
Treat rust on metal roofing thoroughly. The correct process depends on the extent of corrosion and the coating system being used. Surface rust may require mechanical preparation and a compatible metal primer. More advanced corrosion, perforation or deteriorated fasteners may require assessment and repair by an appropriately qualified trade before any coating work begins.
Likewise, coating is not a substitute for correcting damaged tiles, failed flashings or active leaks. Deal with these issues first, then prepare the repaired area as required by the coating system. Starting with a stable, dry roof is far more efficient than trying to correct failures after the topcoat has been applied.
Choose primers and topcoats as one system
Primer is not required on every sound, previously painted roof, but it is not something to skip when the substrate or specification calls for it. Primers are commonly used on bare metal, prepared rust areas, repaired sections and surfaces where the selected topcoat needs a compatible base.
Use the primer recommended for the substrate and roof coating. Mixing products without checking compatibility can lead to poor adhesion, wrinkling, slow drying or an uneven finish. The same caution applies when recoating an unknown existing paint. If you cannot identify what is on the roof, preparation testing and technical advice are sensible safeguards.
Roof colours also deserve practical consideration. Dark colours may suit the look of a property, but they can make heat and patchiness more noticeable on some roofs. Lighter colours may show dirt differently. When colour matching is required, confirm the selected colour and finish before coating the entire roof. BG Coatings can provide practical product and colour guidance for suitable roof coating systems.
Plan weather, access and quantities before opening paint
Good conditions make application easier and reduce avoidable problems. Check the technical data sheet for acceptable application conditions, including temperature, humidity, surface dryness, recoating intervals and rain exposure. Avoid coating a roof that is wet, excessively hot, or likely to receive rain or heavy dew before the coating has dried as specified.
Roof surfaces can become much hotter than the surrounding air, particularly in Perth summers. If the surface is too hot, coating may dry too quickly, reducing working time and making it harder to maintain a wet edge. Early starts can help, but do not begin while condensation is present. Plan work around the roof’s sun exposure rather than relying only on the day’s forecast.
Measure the roof area as accurately as practical, then allow for roof pitch, ridges, overlaps, texture and local repairs. Divide the total area by the documented coverage rate for each coat, remembering that coverage may vary with surface condition and application method. Buy enough for the full system and the specified number of coats where possible, especially when colour consistency matters.
Safe access is essential. Roof work carries real fall risk. Use appropriate access equipment, footwear and fall-protection measures, and do not work alone where it is unsafe to do so. If safe access cannot be arranged, engage a suitably qualified roof professional for the application work.
Applying roof coating evenly
Stir coating thoroughly before use and during application where the product directions require it. Do not add water or thinner unless the technical data sheet specifically permits it. Unapproved thinning can change viscosity, coverage and film build.
Apply by the recommended method, often brush, roller or airless spray depending on the product and job. Brush work is useful around fasteners, flashings, ridge details and tight edges. Rollers can provide controlled application across broad areas, while spray application can be efficient for experienced operators using the correct equipment and safety controls.
Work in manageable sections and maintain a wet edge to reduce lap marks. Apply an even coat at the stated spread rate rather than trying to make one heavy pass cover everything. A heavy coat may look efficient at first, but can increase the risk of runs, uneven drying and insufficient control over film thickness.
Allow each coat to dry and recoat within the interval stated in the technical data sheet. Conditions can change those times, so assess the coating rather than working to a clock alone. Do not walk on newly coated areas unless the product instructions allow it and access is necessary.
Check the finish before packing up
Once the final coat has dried as directed, inspect the roof in good light. Look for thin patches, misses around penetrations, runs, inconsistent sheen and areas where old colour is still showing through. Address any issues within the product’s specified recoating window where possible.
Clean equipment according to the coating instructions and dispose of wash-up materials responsibly. Keep any remaining labelled product sealed for future touch-ups, and retain the technical data sheet and colour details for the property record.
A roof coating job is easiest to manage when the condition of the roof determines the preparation, primer and application method. Take the time to confirm the system before you begin, and the final coat has a much better foundation to perform as intended.