A metal coating system usually fails at the surface, not in the final coat. Knowing how to prepare metal for priming means removing what the primer cannot bond to: oil, salts, loose rust, chalking paint and smooth factory finishes. Take the time to assess the metal before opening a tin. It is the most reliable way to improve adhesion and get a consistent finish.
The exact preparation method depends on the metal, its condition and the primer system you plan to use. Mild steel, galvanised steel, aluminium and previously painted metal each need a slightly different approach. Always check the relevant technical data sheet before choosing a primer or applying a coating.
Start by identifying the metal and its condition
First, establish whether you are working with bare mild steel, galvanised steel, aluminium, stainless steel or an existing painted surface. If you are unsure, avoid assuming that every metal can be treated with the same primer. A primer suitable for rusty steel may not be the correct choice for fresh galvanised steel or aluminium.
Look closely for corrosion, peeling paint, bubbling, chalkiness, welding residue, sharp edges and contamination. Rust that has lifted the existing coating needs to be removed, not painted over. Likewise, a sound-looking surface can still cause problems if it is greasy, dusty or too smooth for the primer to grip.
Previously painted metal needs an extra compatibility check. If the old coating is firmly attached, cleaning and sanding may be enough before recoating. If it is flaking, softened by solvent, extensively rusted or of unknown type, remove the unsound material and prepare the exposed areas properly. A small test area can help confirm whether the new coating system reacts with the old paint.
How to prepare metal for priming step by step
Remove grease, oil and surface contaminants
Cleaning comes before sanding. If you sand a greasy surface first, you can work contaminants deeper into the scratches and spread them across the metal.
Use a suitable surface cleaner or degreaser, following its directions, and wipe with clean lint-free rags. Change rags regularly rather than redistributing oil. Pay particular attention to areas around hinges, machinery, welds, handrails and vehicle or equipment components, where lubricant and grime often collect.
Salt contamination also matters, particularly on coastal properties and exposed outdoor steelwork in Western Australia. Wash the surface as required, allow it to dry completely, then clean again if needed before sanding and priming. Do not prime metal that is damp or carrying residue from cleaning products.
Remove loose paint and corrosion
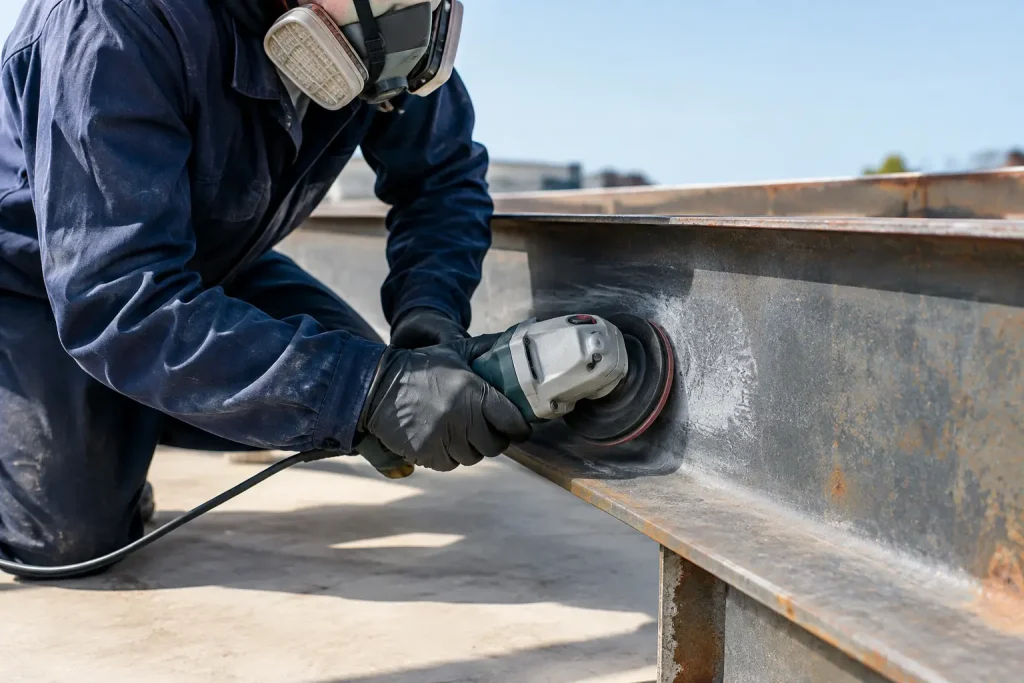
Scrape and sand away all loose, peeling or poorly bonded paint. Wire brushing, hand sanding, power sanding or mechanical abrasion can be suitable depending on the job size and access. The aim is not simply to make rust look cleaner. You need to remove loose corrosion and reach a firm, stable surface.
For steel, take rust back as far as practical until you reach clean metal or tightly adhered, non-flaking material. Deep pitting may remain after rust removal, especially on older steel. What matters is that loose corrosion has been removed and the primer is suited to the remaining surface condition.
Feather the edges of sound surrounding paint so there is no sharp ridge between bare metal and the existing coating. These edges are common weak points if they are left abrupt or poorly prepared.
Mechanical methods create dust, so wear suitable personal protective equipment and clean the surface thoroughly afterwards. If old coatings may contain hazardous materials, seek appropriate advice before sanding or disturbing them.
Create a suitable surface profile
Primer needs a clean, lightly abraded surface to bond well. Smooth metal, including new steel, aluminium and galvanised products, may look ready to coat but often needs profiling first.
Sand the metal evenly with an abrasive suited to the substrate and coating system. You are looking for a uniform dull finish rather than a polished surface. Do not over-polish bare metal with very fine abrasive paper, as this can reduce the mechanical key the primer relies on.
Welds deserve particular attention. Remove welding spatter, sharp projections and loose residue, then smooth rough weld areas as needed. Round or ease sharp edges where practical, because coating tends to draw thin over corners and edges. A properly prepared edge helps the primer build more evenly.
Remove all sanding dust
Once sanding is complete, remove dust carefully. Vacuuming followed by wiping with a clean, compatible cloth is generally more reliable than brushing alone. Compressed air can be useful in some trade settings, but only when it is clean, dry and oil-free. Contaminated airline moisture or oil can undo the cleaning work you have already completed.
Inspect the surface in good light. Run a clean gloved hand over it if appropriate. It should feel dry, clean and free from loose particles. If you can see dust, rust residue or fingerprints, address them before priming.
Preparation differences by metal type
Mild steel and iron
Bare mild steel begins oxidising quickly, particularly in humid or coastal conditions. Prime it as soon as practical after cleaning and sanding. Avoid leaving prepared steel exposed overnight if conditions are damp, as flash rust can form and compromise the coating system.
If flash rust appears, remove it and clean the surface again before applying primer. Select a metal primer designed for steel and compatible with the intended topcoat. The primer is part of the system, not an optional extra between preparation and paint.
Galvanised steel
New galvanised steel can have a smooth, shiny surface and may carry passivation treatments or handling contamination. It generally requires thorough cleaning and controlled abrasion before priming. Do not assume a standard steel primer will adhere correctly to galvanised metal.
Weathered galvanised steel can develop white corrosion products. Remove these deposits, clean the surface and ensure it is dry before using the specified primer system. Check the primer technical data sheet for galvanised steel suitability and any preparation requirements.
Aluminium and other non-ferrous metals
Aluminium forms a natural oxide layer that can affect adhesion. Clean it thoroughly, abrade it evenly and prime it promptly with a product recommended for aluminium or non-ferrous metals. This is especially relevant for gates, trims, window components, marine-adjacent items and fabricated aluminium sections.
Avoid using aggressive cleaning or abrasion methods without confirming they are suitable. Aluminium is softer than steel and can be damaged or distorted by overly forceful preparation.
Choose the primer before you start sanding
It can be tempting to prepare first and decide on paint later, but the better approach is to plan the full coating system upfront. Primer selection affects the preparation standard, the suitable topcoat and the application conditions.
Consider whether the metal is indoors or outdoors, exposed to weather, subject to frequent handling, affected by chemicals, or part of an industrial or maintenance environment. A decorative indoor handrail has different demands from exterior steelwork, roof components or plant equipment.
Use a primer that is compatible with both the metal substrate and the intended finish coat. Follow the specified mixing, thinning, recoat and curing instructions. For two-pack products, accurate mixing and pot life are particularly important. Technical data sheets and safety data sheets should guide product selection, personal protective equipment and application conditions.
BG Coatings can help customers match an appropriate primer and topcoat system to the substrate and exposure conditions, with practical product and technical documentation guidance available before purchase.
Avoid the preparation mistakes that cause early failure
The most common mistake is applying primer over rust, chalk, oil or loose paint because the surface appears dry. Another is using a single product across several metals without checking compatibility. Both can lead to poor adhesion, staining, bubbling or premature coating breakdown.
Also avoid priming in unsuitable weather. Metal can be colder than the surrounding air, and condensation may be present even when the surface looks dry. Check the product requirements for temperature, humidity and substrate conditions. Keep the prepared surface clean between sanding and priming, and do not handle it unnecessarily with bare hands.
For larger projects, maintain a practical sequence: prepare only as much metal as you can prime within the recommended window. This reduces the chance of dust, moisture or flash rust returning before the coating is applied.
Good metal preparation is not glamorous work, but it determines whether the primer can do its job. Clean thoroughly, remove unstable material, create an even profile and use a compatible coating system. When the surface condition is unclear, pause and check the product documentation before proceeding – a short conversation or test patch is far easier than correcting a failed finish.