A roof membrane application guide is only useful when it starts with the roof in front of you. A clean-looking roof can still have chalking, fine cracks, loose fasteners, failed flashings or an incompatible old coating underneath. The membrane product matters, but preparation and system compatibility usually determine whether the finished coating performs as intended.
For homeowners, property managers and trade applicators, the sensible approach is to assess the roof material, identify the existing surface and follow the relevant product technical data sheet from start to finish. A coating system should be selected for the roof condition, not simply for the colour or the quickest path to application.
Start by identifying the roof surface
The word “membrane” can describe several liquid-applied waterproofing or protective coating systems. They are not interchangeable. A product suited to prepared metal roofing may not be appropriate over concrete tiles, weathered cement sheeting, aged bitumen or a previously painted surface.
Metal roofs need particular attention around laps, screws, penetrations, ridge cappings and valleys. Look for corrosion, lifting paint, white rust on zincalume surfaces, movement at joints and any areas where water may sit after rain. Concrete tile roofs have different concerns: porous tiles, loose pointing, cracked tiles, moss and lichen, and dust trapped around overlaps can all affect adhesion.
If the roof has already been coated, establish what that coating is and whether it remains sound. A well-adhered existing coating may be prepared and recoated within a compatible system. If it is peeling, soft, powdery or breaking down, applying a new membrane over the top can merely hide the problem for a short time.
Roof membranes are also not a substitute for resolving defects in the roof itself. Replace damaged components, secure loose flashings and address drainage issues before coating. Liquid coating is not designed to bridge major movement, failed joints or areas that retain standing water unless the specified system is expressly designed for those conditions.
Check weather, access and safety before coating
Roof work needs a realistic weather window. Apply only when the roof is dry and the forecast allows sufficient drying and curing time stated on the product documentation. Morning dew, late-afternoon moisture and an unexpected shower can affect a fresh coat, even on a warm Perth day.
Avoid coating a roof that is excessively hot. High surface temperatures can make a product difficult to spread evenly and may reduce working time. The roof temperature can be far higher than the air temperature, especially on dark metal. Start early where conditions allow, work in manageable sections and keep a wet edge.
Safe access is not optional. Use appropriate fall protection, stable access equipment and footwear with adequate grip. Do not work on wet, steep, fragile or unsafe roofing. If access cannot be made safe, engage a suitably qualified roof professional to assess the work before any coating is planned.
Preparation is the foundation of membrane adhesion
Most premature coating problems can be traced back to contamination, moisture, poor surface profiling or unstable old paint. Cleaning should remove dirt, airborne salts, chalking, moss, lichen and loose material without damaging the substrate. Pressure cleaning is often used on suitable roofs, but it must be followed by enough drying time for trapped moisture to escape.
On metal roofing, treat corrosion thoroughly. Remove loose rust and failed coating back to a firm edge, then prepare the exposed area as required by the selected primer system. Do not simply coat over corrosion and expect the membrane to stop it progressing.
For tiled or masonry-based roof surfaces, remove friable material and ensure the substrate is sound, dry and free from residues. Porous surfaces may need a compatible sealer or primer to control absorption and create a stable base for the topcoat. The correct primer depends on both the substrate and the membrane being used.
Mask adjacent walls, solar equipment, gutters, skylights and other areas that should not be coated. It is far easier to protect these surfaces before application than to remove dried coating later. Clear the roof of loose debris and plan where you will begin and finish so you are not forced to walk through wet product.
Do not skip the test area
Where the substrate is unknown, heavily weathered or previously painted, a small adhesion test area is a practical safeguard. Prepare and coat a representative patch using the intended system, then assess the result after the documented drying period. This does not replace the product specification, but it can reveal a compatibility issue before materials are applied across the whole roof.
Prime for the surface, not by habit
Primer is not automatically required on every roof, but neither is it an optional extra when the system calls for it. Its role may be to improve adhesion, bind a porous surface, isolate an existing coating or protect prepared metal. Using the wrong primer can create a weak layer between the roof and the membrane.
Apply primer evenly at the recommended spreading rate. Thin, missed areas can produce inconsistent absorption or adhesion, while over-application can delay recoating. Allow it to dry within the stated recoat window before continuing. If the primer is left exposed beyond that window, check the technical data sheet for the correct next step.
For trade work, recording surface condition, weather, preparation method and batch details is worthwhile. It provides a clear reference if the project involves multiple roof sections or a later maintenance inspection.
Apply the roof membrane at the specified rate
A liquid membrane needs enough material to form the intended dry film thickness. Trying to stretch product beyond its stated coverage rate can leave a coating that looks complete but lacks the designed protective build. Coverage varies with texture, porosity, profile and application method, so calculate quantities from the roof area and allow for the surface condition.
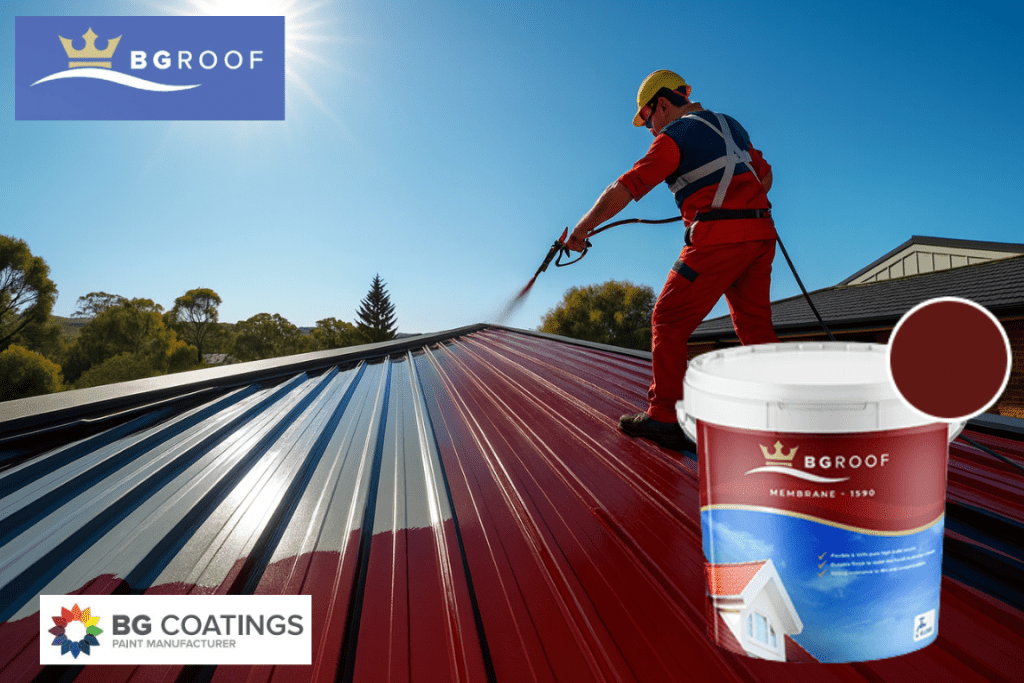
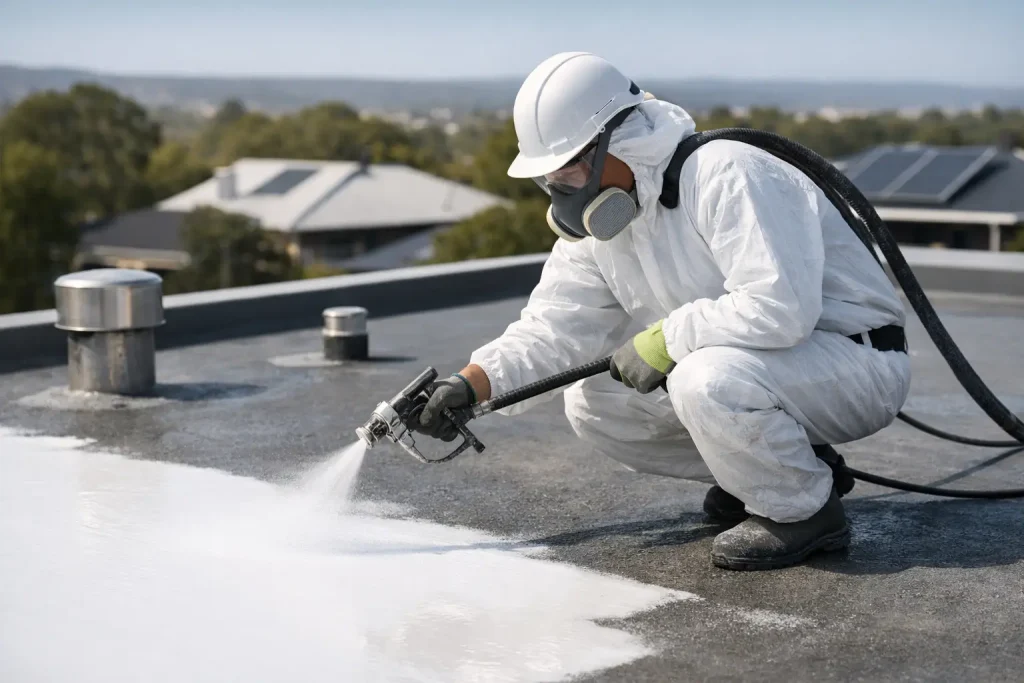
Stir the product thoroughly using clean equipment, following the technical instructions for any mixing or induction requirements. Use the recommended roller, brush or spray equipment. A brush is useful for cutting in around penetrations and detailed areas, while a roller or spray method may suit open roof sections where permitted by the product specification.
Work methodically from the highest practical point towards the exit path. Maintain a consistent application direction and overlap each pass to avoid holidays, thin lines and lap marks. Around fasteners, penetrations, seams and repaired areas, pay close attention to full coverage. These are common weak points because they involve changes in profile and movement.
Most systems require more than one coat. Apply each coat only after the previous coat has dried for the documented interval, and do not assume a surface that feels dry is ready for recoating. Conditions such as shade, humidity and cool weather can extend drying time.
Watch the details that cause callbacks
Roof edges, valleys, gutters, skylight upstands, vents and cappings deserve a slower application pace than broad roof sheets. The goal is even coverage without puddling, pinholes or missed transitions. If reinforcement fabric, sealant or a specialised detail treatment is specified for a particular joint, use it as part of the nominated system rather than improvising with general-purpose materials.
A membrane coating should be applied as a complete system. Mixing brands or substituting a primer, sealant or topcoat because it is already in the shed can create compatibility issues that are difficult to see until the roof is exposed to weather.
Inspect before packing up
Once the final coat is applied, inspect the roof in good light. Check for thin spots, overspray, missed edges, debris embedded in the coating and uneven coverage around fixtures. Remove masking carefully and keep foot traffic off the roof until the coating has cured as specified.
Keep leftover product sealed and stored according to its label and safety data sheet. Retain the product name, colour and batch details for future maintenance. If a small area is damaged later, this information makes it easier to select a compatible repair coating.
BG Coatings can assist customers in selecting a suitable roof coating system, understanding product documentation and planning coverage before purchase. The right preparation may take longer than the final coating pass, but it is the part of the job that gives the membrane its best chance to protect the roof through Australian weather.